Safety Prerequisite: Shut down the hydraulic press machine, release pressure, and disconnect the power supply. Ensure system pressure has dropped to zero before commencing work. Do not disassemble seals or fittings while the system is under pressure.
Step 1: Locate the oil leak
1. Clean away oil residue and wipe the surface dry.
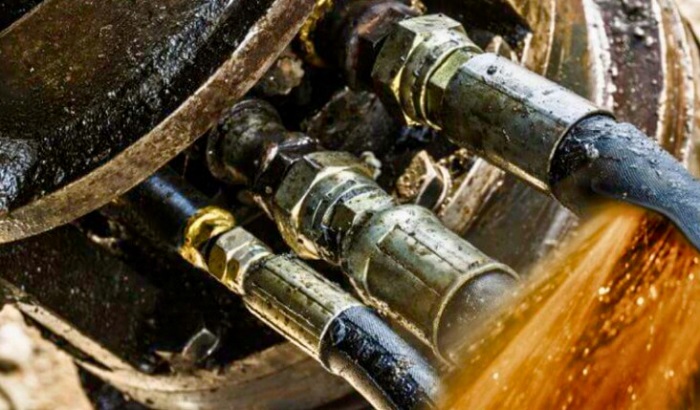
2. Briefly jog the hydraulic press machine and observe where oil seeps out, then mark the leak point:
- Joints / flanges / valve block mating surfaces (static leak).
- Piston rod outer surface (dynamic leak; cylinder leak).
- Housing, weld seams, or hydraulic hoses/tubing.
3. Record the nature of the leak: slight seepage / continuous dripping / high-pressure spray.
Step 2: Categorized Inspection and Remediation
Type A: Static seal oil leaks (pipe fittings, flanges, end caps)
- First, inspect bolt/fitting threads: Tighten evenly in a diagonal pattern; do not fully tighten a single bolt in isolation, as this can cause housing deformation or cracking.
- If leakage persists after tightening: Disassemble and clean the mating surfaces to remove metal filings, old gasket residue, and burrs.
- Inspect O-rings/gaskets: Replace with identical specifications if cracked, hardened, or nicked; ensure the seal groove is free of dents or nicks.
- Reassemble: Ensure the O-ring is not twisted; tighten bolts in stages using a diagonal pattern.
- Threaded fittings: Replace the fitting if threads are damaged; do not over-wrap with PTFE (thread seal) tape.
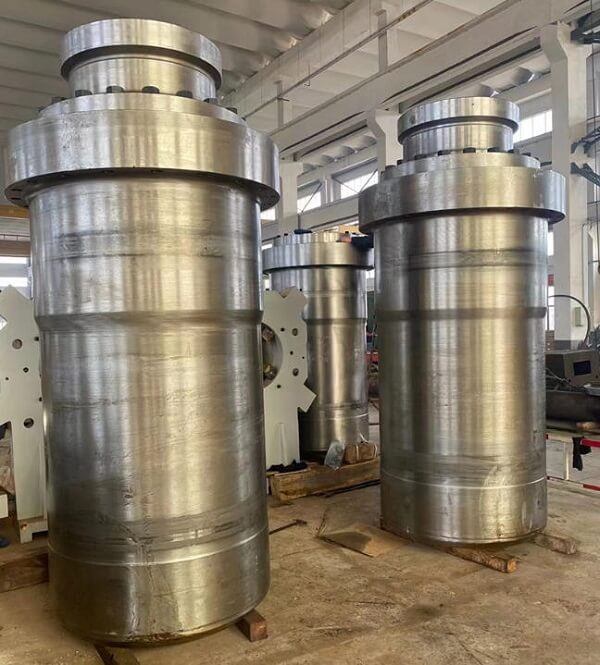
Type B: Dynamic seal oil leaks (piston rod/cylinder)—the most common issue
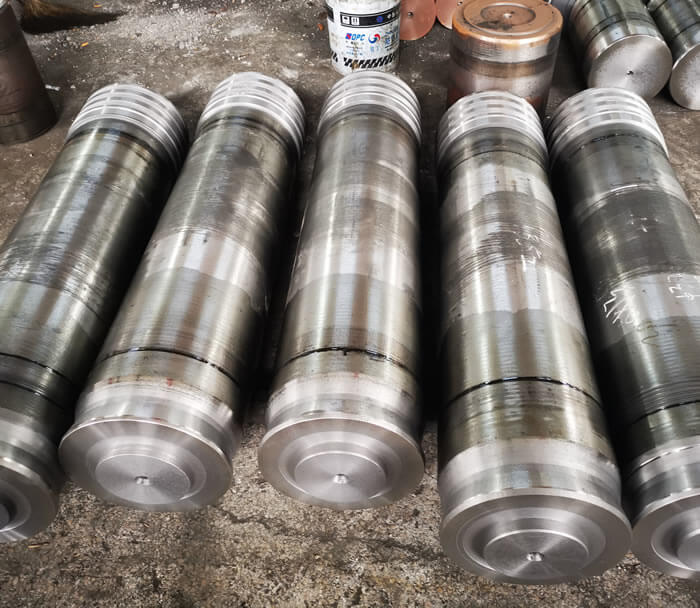
- Inspect the piston rod: Check for scratches, scoring, peeling plating, or rust.
Minor scratches → Repair by grinding and polishing; deep scratches → Repair or replace the piston rod (replacing only the oil seal will result in a quick recurrence of the leak).
- Inspect the dust seal: Replace if damaged or clogged with dust or metal filings.
- Disassemble the guide sleeve and replace the complete seal kit (oil seal, buffer ring, and guide strip); take care during installation to avoid cutting the seal on sharp edges or chamfers, and ensure seals are not installed backward or twisted.
- Check the guide sleeve clearance: Repair the guide sleeve if the clearance is excessive, as eccentric movement (wobbling) of the piston rod will cause ongoing damage to the oil seal.
Type C: Oil leakage from rigid lines, hoses, weld seams, or housings
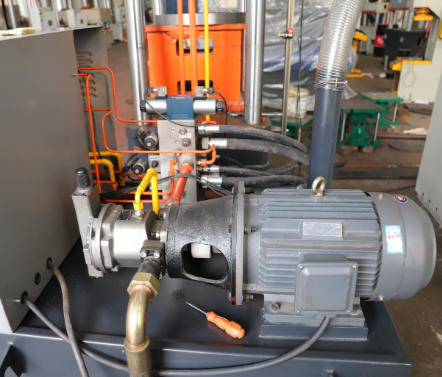
- Hose bulging or cracking: Replace the hydraulic hose immediately.
- Weld seam cracks: Shut down and repair-weld; treat casting blowholes or cracks via welding or epoxy repair; replace the casting if the cracking is severe.
- Rigid line weld seam leakage: Re-weld and perform a pressure test.
Type D: Recurrent oil leakage shortly after seal replacement
- Check oil temperature: If the temperature consistently exceeds 70°C, inspect the oil cooler and clean the radiator (high temperatures accelerate seal aging).
- Check system pressure: Is there over-pressurization or severe pressure shock? Adjust the relief valve and add an accumulator for cushioning.
- Check for return line blockage: Excessive back pressure in the return line causes pressure buildup and leakage; clear the return line.
- Severe fluid contamination: Filter or replace the hydraulic oil; impurities will cause ongoing wear and damage to the seals.
Step 3: Post-assembly Test Run and Verification
- After assembly, fill the system to the standard oil level.
- Cycle the hydraulic cylinder multiple times under no-load conditions to purge internal air.
- Gradually increase pressure to the rated operating level, run continuously for 10–30 minutes, and re-inspect all sealing points for leaks.
- In the event of minor localized leakage: shut down and depressurize the system, then adjust bolt torque using a diagonal tightening pattern. Tightening bolts while the system is pressurized is strictly prohibited.
Step 4: Preventive Maintenance Guidelines
- Regularly inspect the dust seal to prevent contaminants from entering the cylinder.
- Maintain the optimal oil temperature between 50°C and 60°C.
- Periodically filter the hydraulic oil to ensure cleanliness.
- When replacing seals, prioritize replacing the entire set rather than just a single seal ring.
Quick Assessment Checklist
| Faults | Prioritize handling |
| Slight oil leakage from the joint flange | Tighten bolts evenly in a diagonal pattern |
| Oil dripping from the joint | Replace O-rings and clean sealing surfaces |
| Oil dripping from the piston rod | Inspect piston rod for scoring; replace the complete set of cylinder seals |
| Leaking again shortly after the seal was replaced | Check oil temperature, system shock pressure, and fluid contamination |
PDH is a professional hydraulic press factory in China with professional press expertise and various hydraulic presses. If you have any problems, contact us!